How it Works
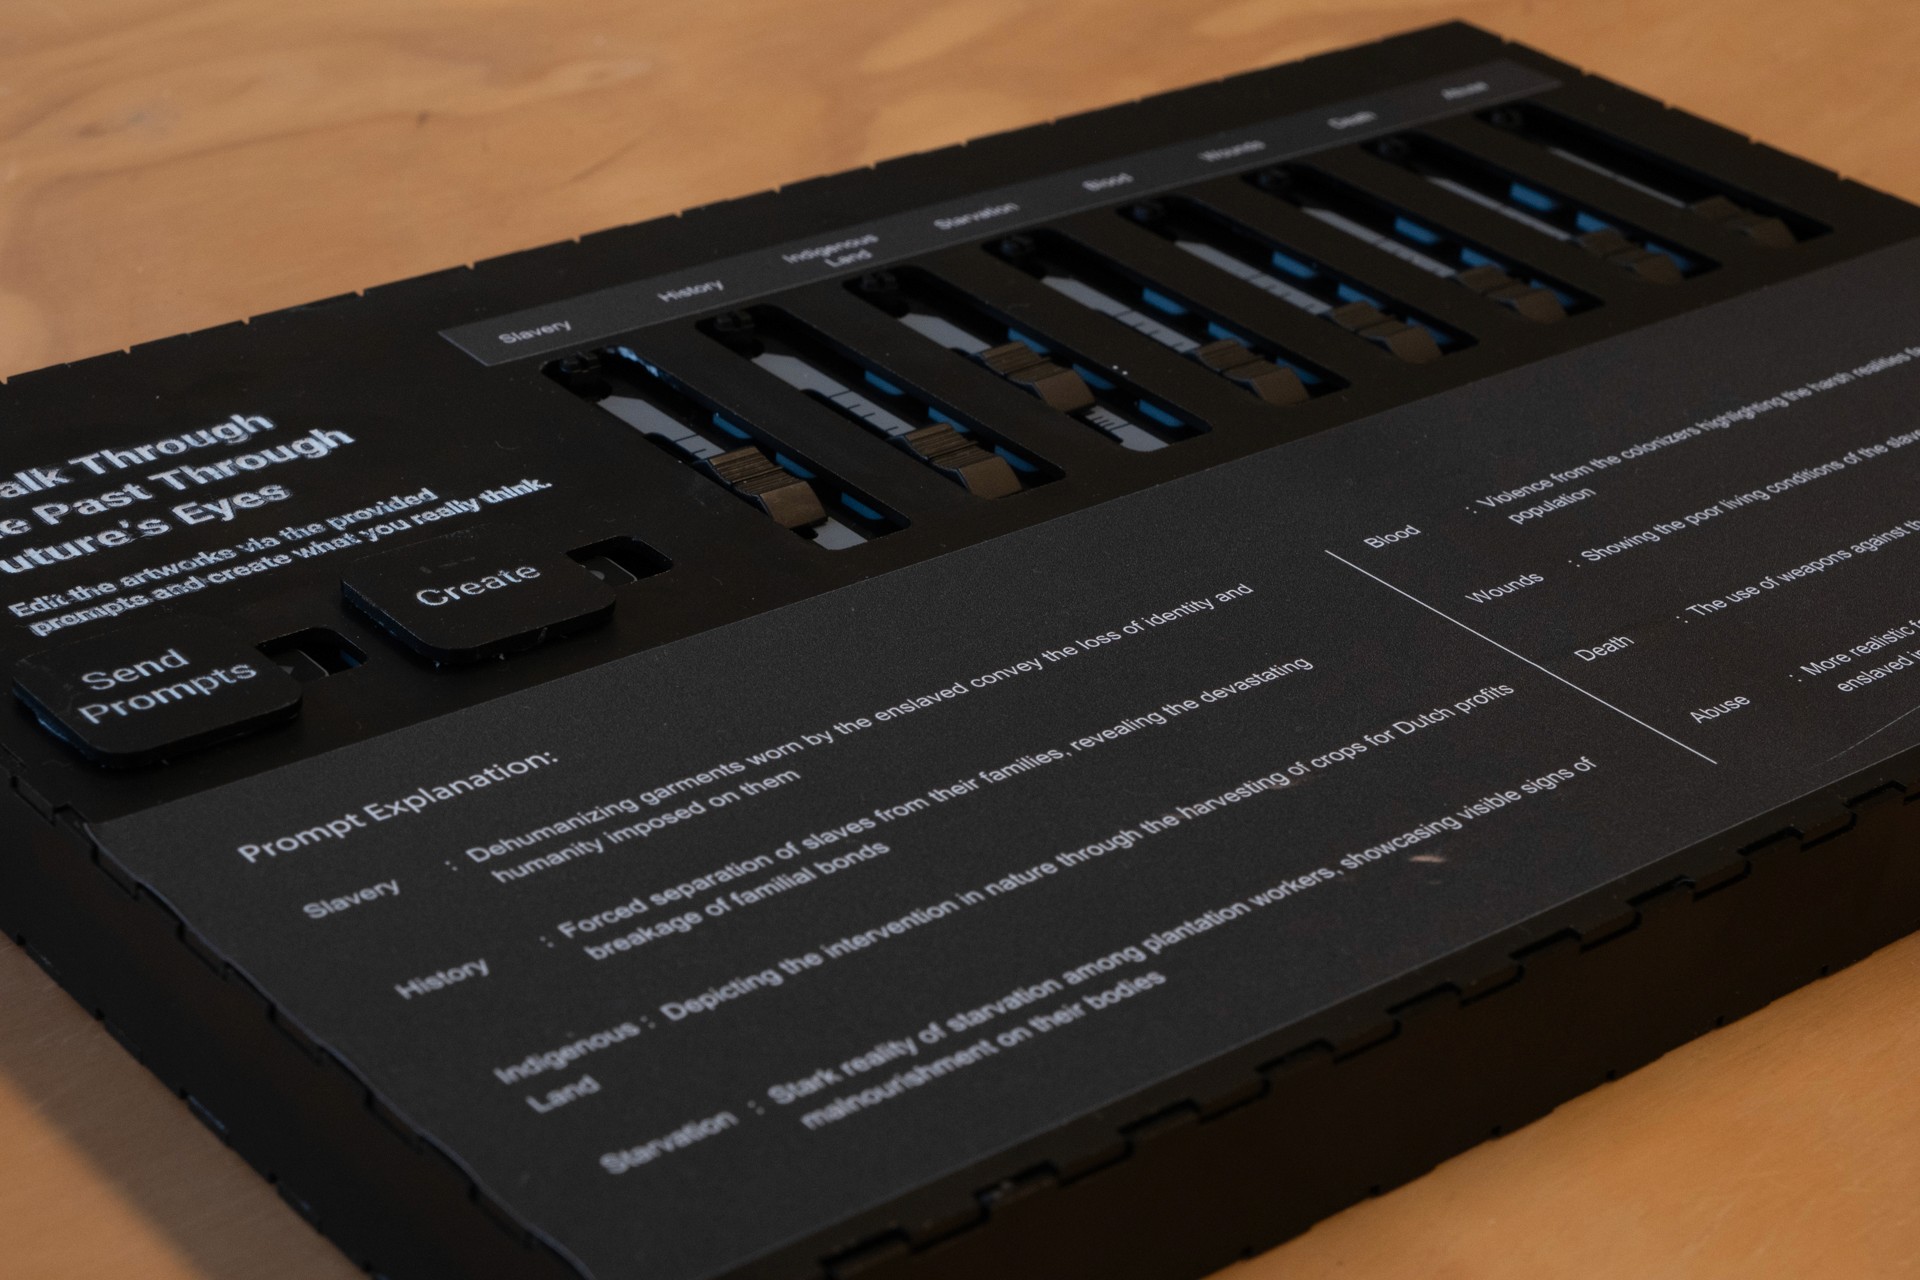
Interactive MIDI board
MIDI values: With a MIDI output component I gathered the values form each slider, linking them to the chosen prompts. Making sure the values reach from 0-10 to properly feed them through the AI.
Sending the prompts: Linking a MIDI button to sending the prompt to the AI. This way the components is ready to generate and has the right information.
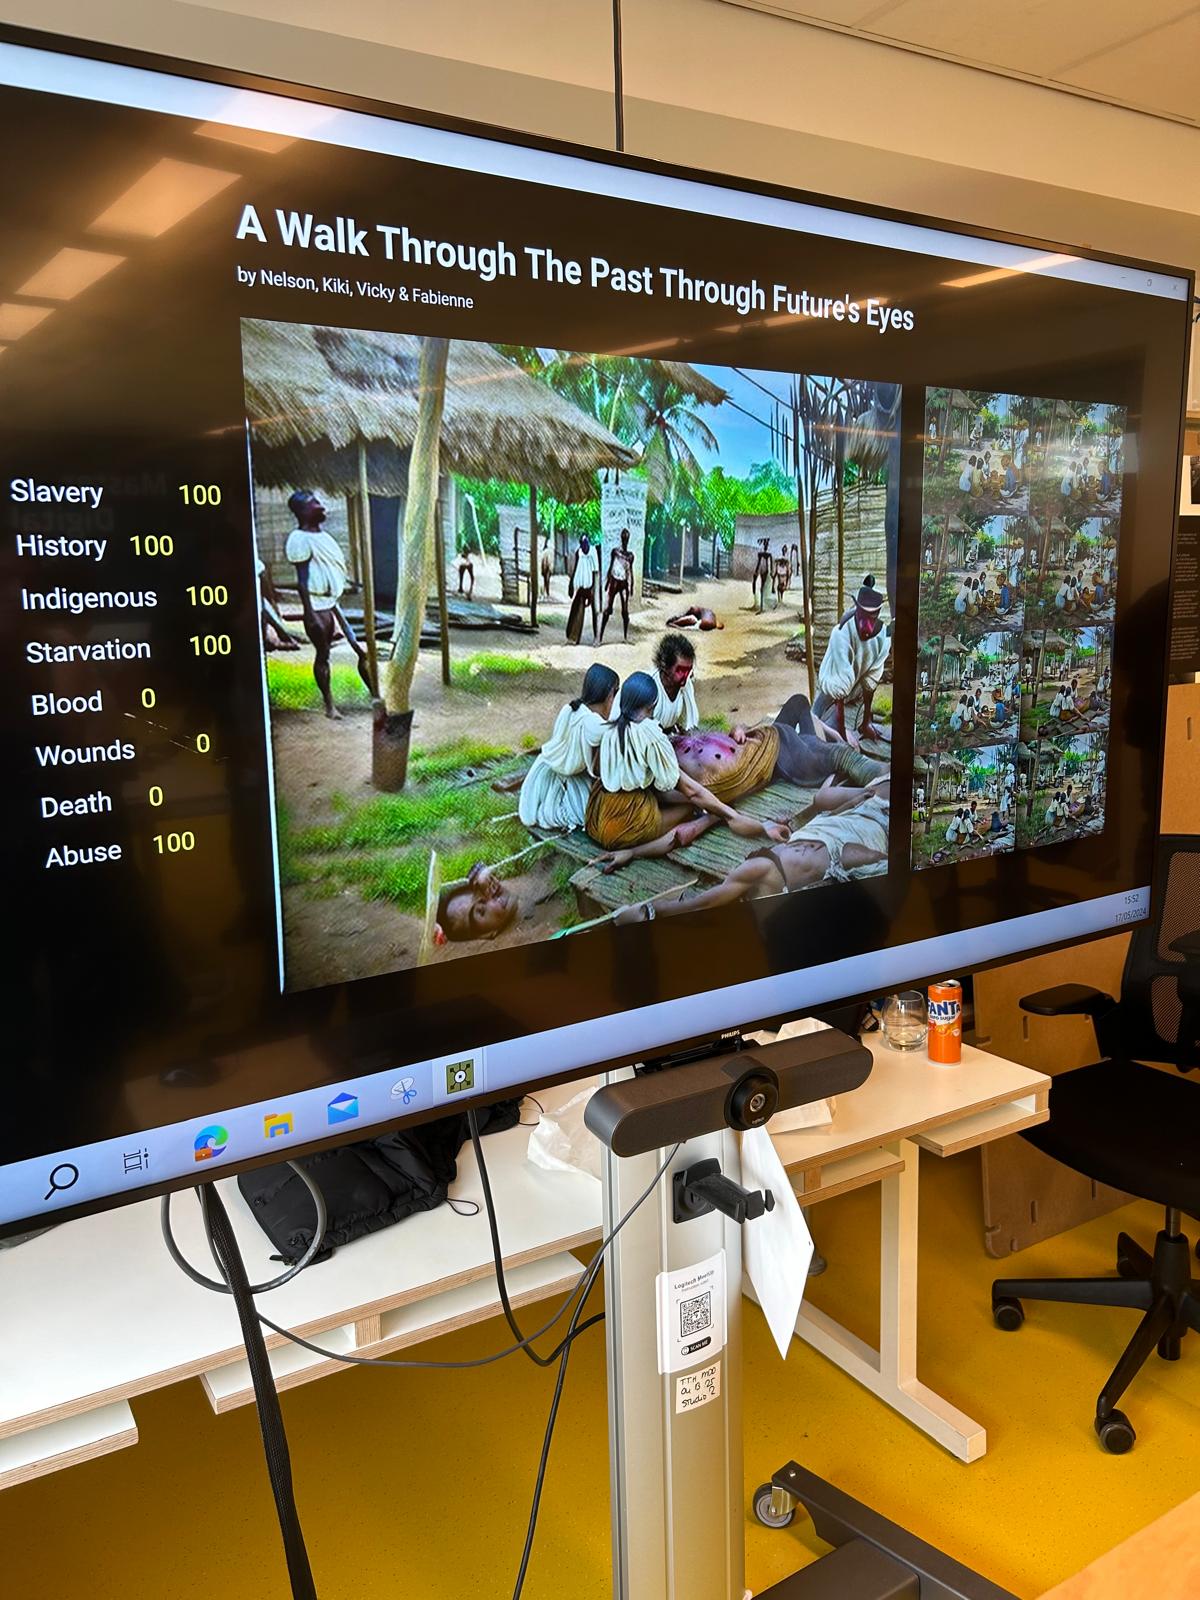
Front-end Values: The MIDI slider values are presented in a 0-100 range in the front-end in Realtime.
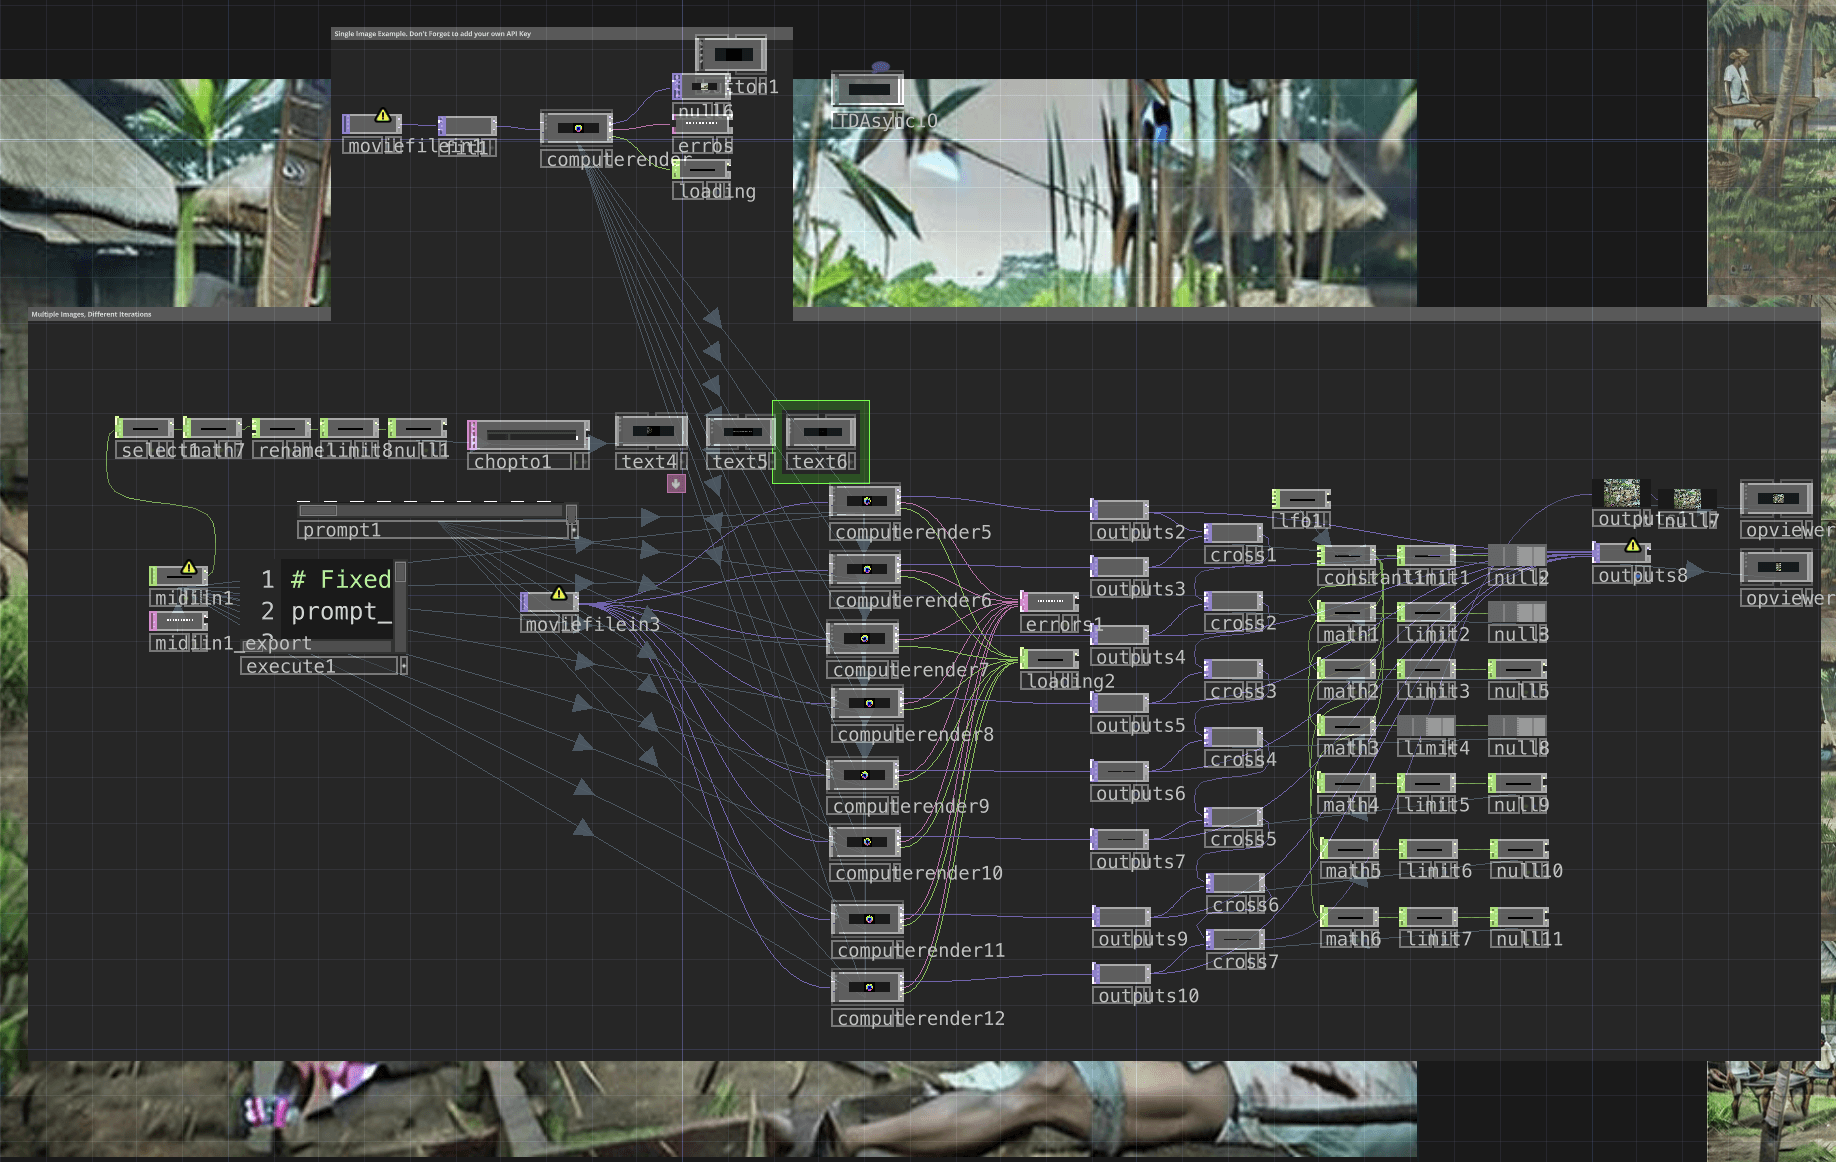
Back-end Touchdesigner
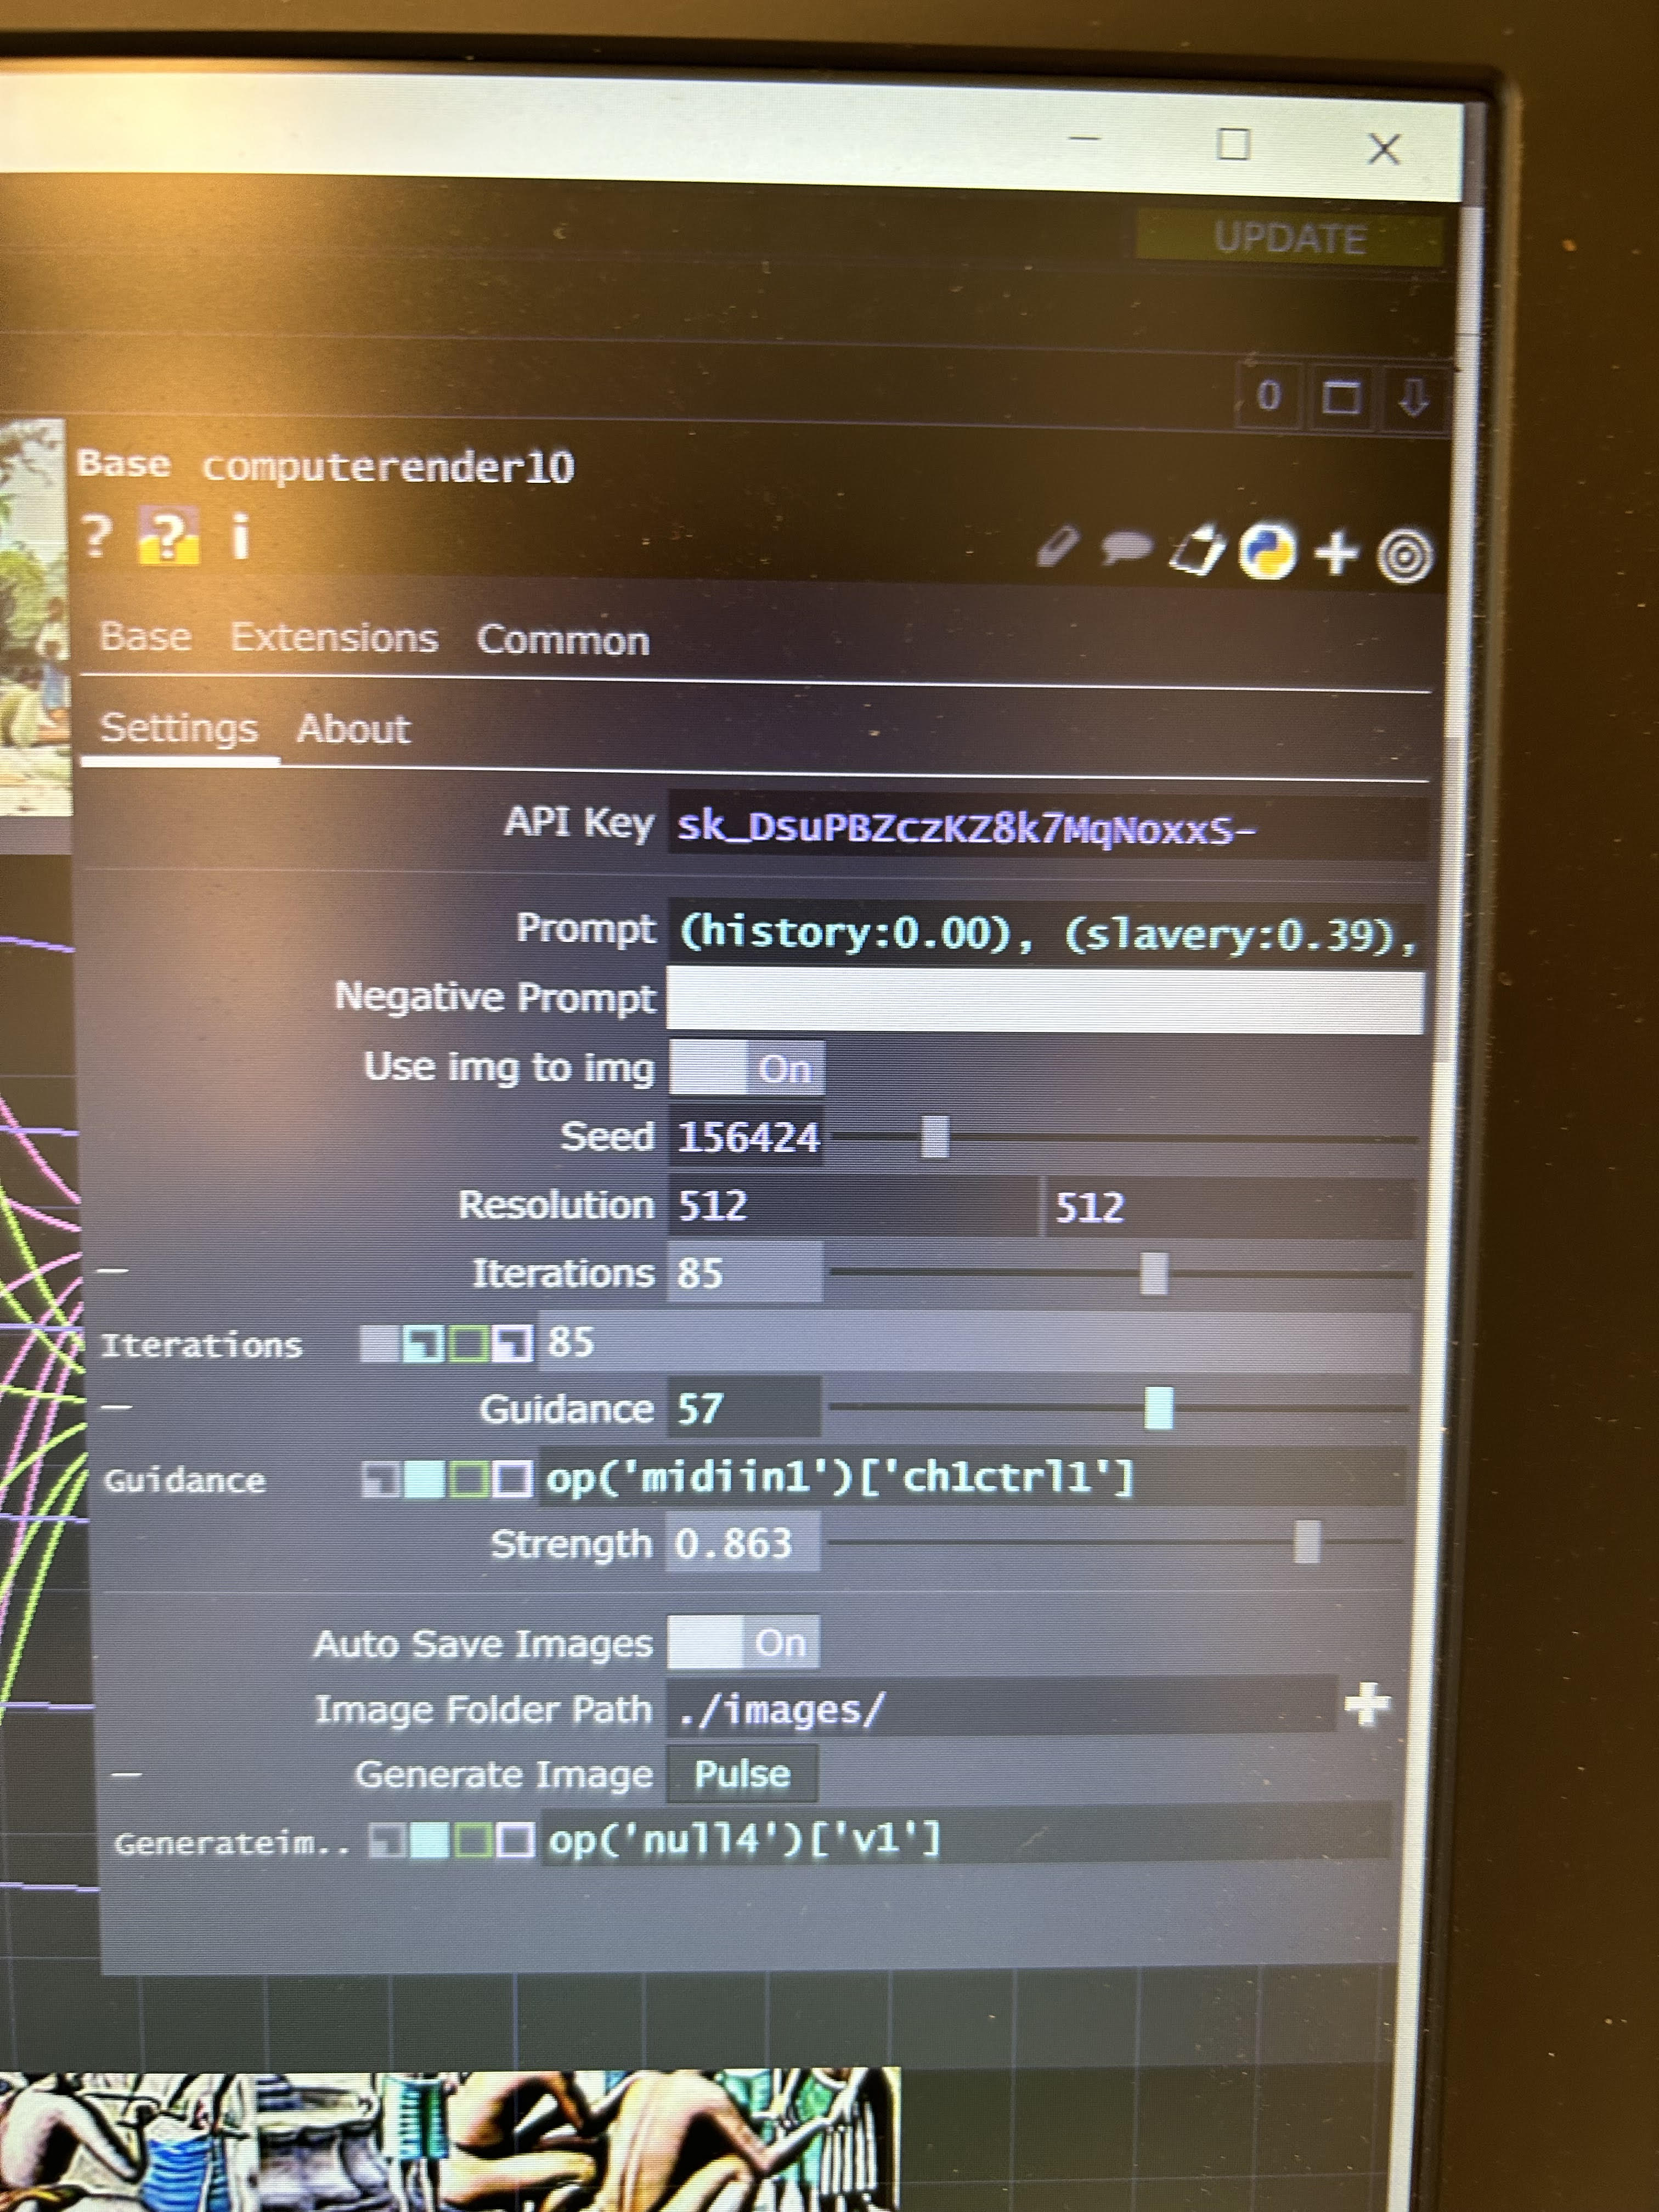
Prompt code: In Python I wrote a script for the values and prompt linking, to avoid sending the same prompt twice and to change the values reach to 0-10 instead of 0-127.
Morphing: With different components I morphed the 8 different perspective into each other to create the changing effect.
Local AI + Stable diffusion
Locally AI: I locally run the AI with a compute-render components. This way we were able to send through more explicit prompts.
8 different renders: This CP components was copied 8 times with different iteration, guidance and strength values. This way with each output the image would get more explicit.
Results
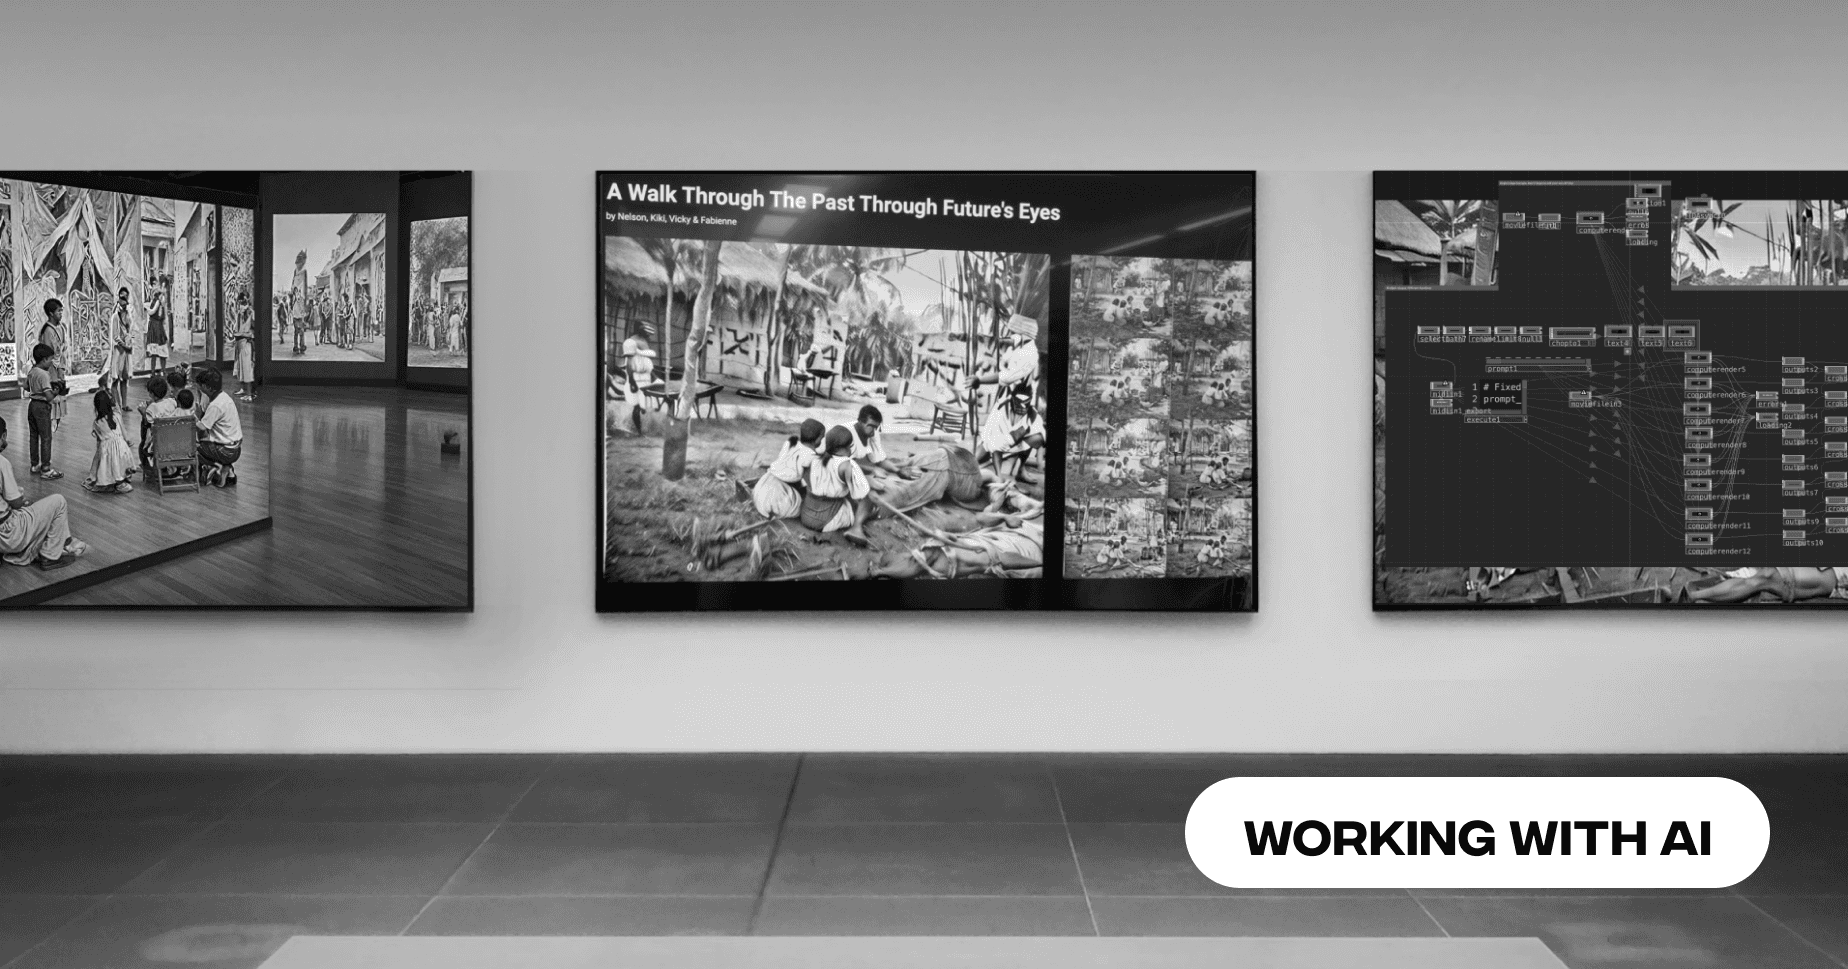
This resulted into a project where with user input on the MIDI board, the prompt values is decided and send to the AI. This AI renders out 8 different outputs going from better to worse. The morphing components shows the users the difference. The user sees their influence directly chance. And with a simple interaction a more truthfull image is generated and a impression has stuck to the user.
